Populating an N Gauge Dapol 121 Bubble Car
by Chris Rix
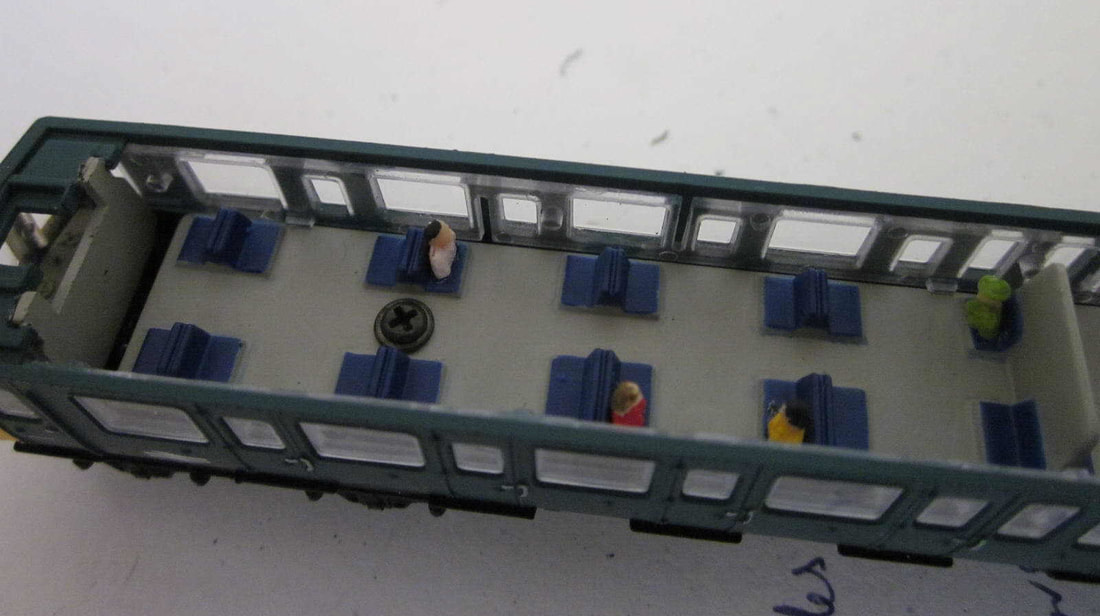
Although small in size N Gauge stock can be much improved by adding passengers and drivers. The Dapol DMU is no exception with the large cab windows crying out for a driver.
On this model access to the cab is by gently lifting off the roof with finger pressure and noting which way round it should re-fit.
Passengers and the driver need to be truncated around the waist in order to fit and are then attached with a dab of UHU glue.
In order to remove the drivers cab you will have to gently cut around the plastic lugs that attach it to the body. (Compare photo's 1 & 2) Once the driver is glued in (photo 3) the cab is simply pressed back in place. The roof clips back on with ease.
It is not recommended that you repeat the process for the other end as this is where the motor control board sits. The model would have to be completely stripped down which you do at your own risk.
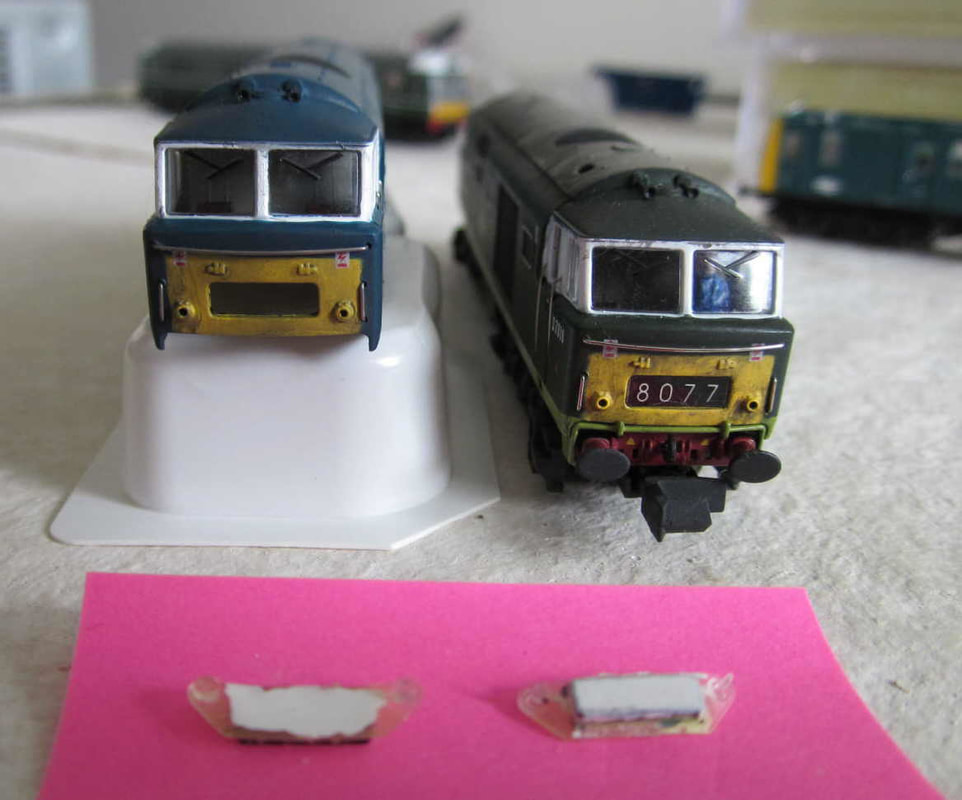
Now you have detailed the inside it is time to fit the head codes. The model supplied in green livery have these back lit with an LED. The codes are translucent. This is great if you run DCC but on DC no power = no light. By reversing the LED you can light the cab and by painting the plastic lense white the code can be read at all times. Photo 5 shows this in progress on a Dapol Hymek.
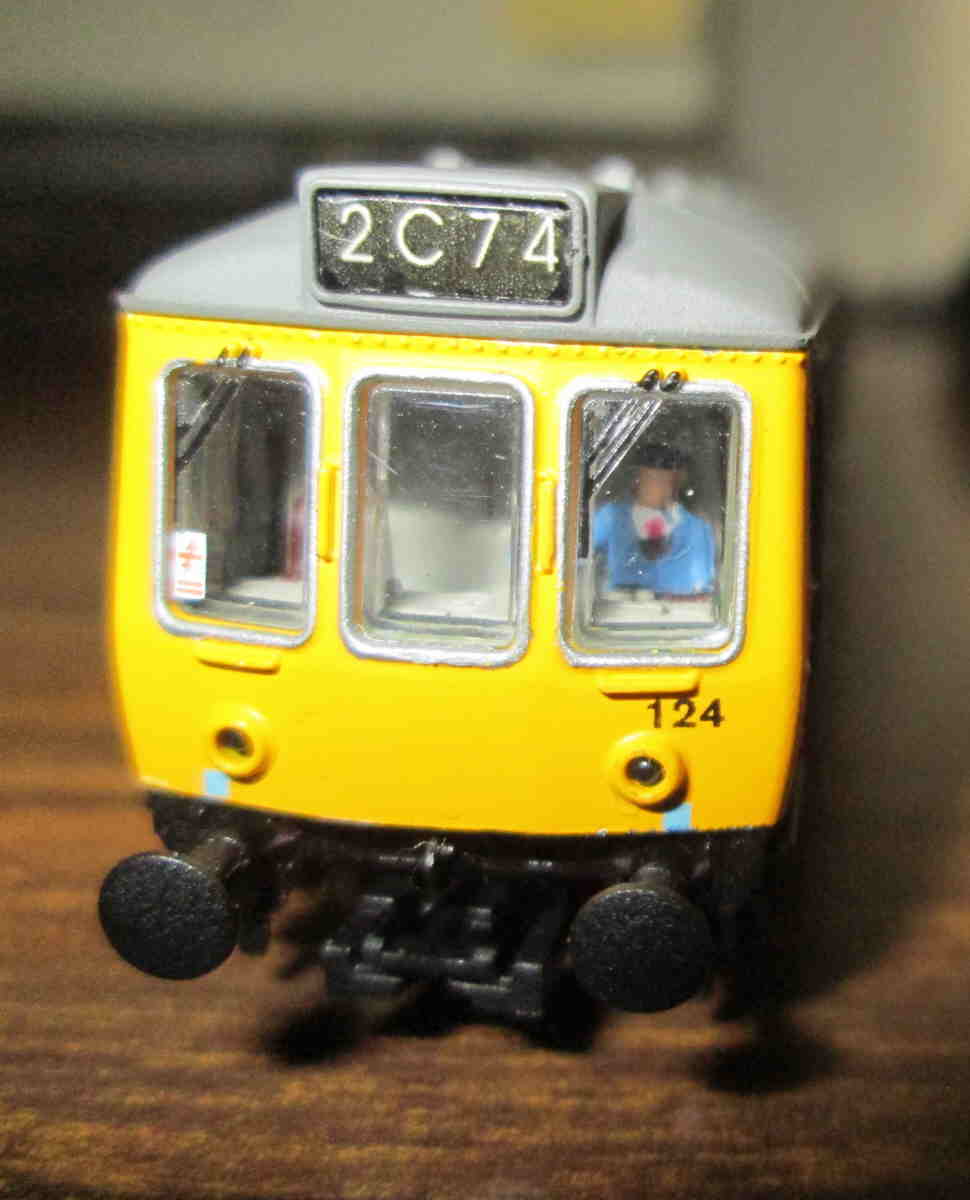
The blue version of the DMU only had head codes early on in this livery so Dapol did not provide LED back lights. My model shows an early version with the code on display (photo 4).
by Chris Rix
Although small in size N Gauge stock can be much improved by adding passengers and drivers. The Dapol DMU is no exception with the large cab windows crying out for a driver.
On this model access to the cab is by gently lifting off the roof with finger pressure and noting which way round it should re-fit.
Passengers and the driver need to be truncated around the waist in order to fit and are then attached with a dab of UHU glue.
In order to remove the drivers cab you will have to gently cut around the plastic lugs that attach it to the body. (Compare photo's 1 & 2) Once the driver is glued in (photo 3) the cab is simply pressed back in place. The roof clips back on with ease.
It is not recommended that you repeat the process for the other end as this is where the motor control board sits. The model would have to be completely stripped down which you do at your own risk.
Now you have detailed the inside it is time to fit the head codes. The model supplied in green livery have these back lit with an LED. The codes are translucent. This is great if you run DCC but on DC no power = no light. By reversing the LED you can light the cab and by painting the plastic lense white the code can be read at all times. Photo 5 shows this in progress on a Dapol Hymek.
The blue version of the DMU only had head codes early on in this livery so Dapol did not provide LED back lights. My model shows an early version with the code on display (photo 4).

1.
|
2.
|

3.
|
4.
|
5.
|
